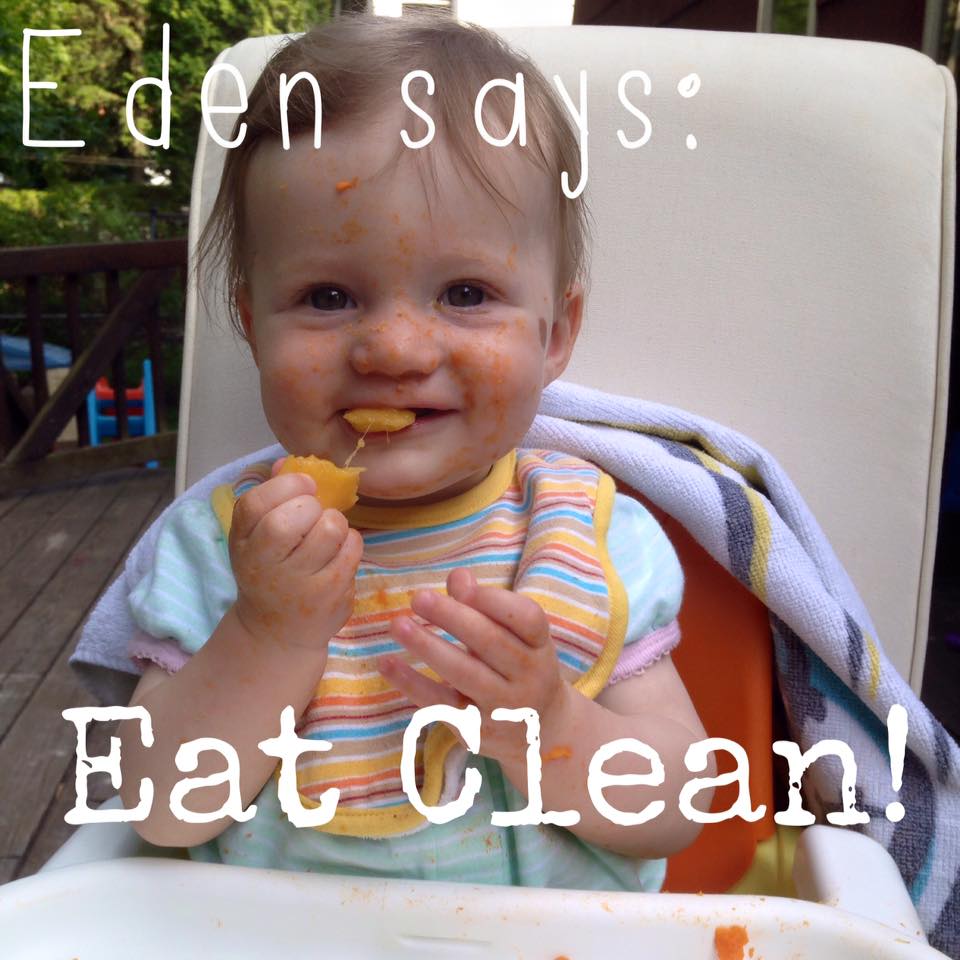
After Eden was born and Jude started pre school, I found myself in a funk. Scrambling to get out the door with a newbie and a pre schooler oftentimes ended in a hot mess. I would grab a banana on my way out, inhale it at drop off, and then run home to get the baby to bed. Queue the mad mama nap rush of trying to vacuum floors, fold clothes, pick up messes and every other thing that you can think of doing before the baby wakes up. You know the drill. Then suddently I had to pick up Jude. And I forgot to eat. So now I'm crazed, hangry mama at the Dunin Donuts drive thru. Large iced cookie dough extra extra and a bagel with cream cheese? Yes, please. Aaaand here comes the crash by lunchtime where I clean my kids' plates of leftover macaroni and cheese. Something had to giiiive.
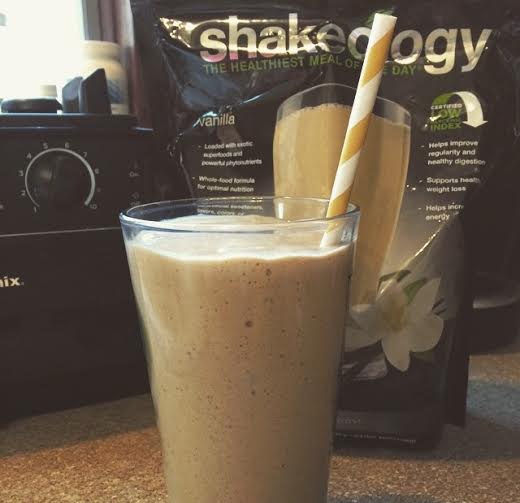
For me the answer came in the form of my adorbs little friend Allison, a Texan whom we befriended in Michigan before we moved to the Jerz. She introduced me to Shakeology, and BOOM. This chick was hooked. No more hangry morning rush, no more Dunkin runs in desperation, no more day long bingeing and shitty food choices.
I started with vanilla and quickly branched out. I love variety, and I love food, so I needed to have an arsenal of options. Almost a year of drinking Shakeology has led me to a handful of favorites, and I'm constantly coming up with new things. Inspiration is all over, like the
Australian Nutella Bella Milkshake that exploded the internet a few weeks back. Yeah, I had to have that. And now you can, too, but with the added benefits of super foods and protein and zero guilt. You're welcome.
So here they are! My top 5 favorite Shakeology recipes for each of my three favorite flavors:) No pudding powders, no added sugars, no added fats. Like any recipe, you may want to play with measurements, since I generally eyeball it. You may like your shake thicker, or colder, so add whatever amount of liquid or ice ou need to fit your taste.
Have some favorites of your own? I'd love to see them!
 |
| THIS. |
Chocolate
Black Forest
Scoop of chocolate shakeology
1 c. pitted cherries
8 oz. almond milk
ice
Almond Joy
Scoop of chocolate shakeology
1/2 tsp. almond extract
1/4 c almonds
8 oz. coconut milk
1/4 c. flaked unsweetened coconut
ice
Sea Salt Caramel
Scoop of chocolate shakeology
1/8 tsp. caramel extract
8 oz. almond milk
dash of sea salt
ice
 |
| Instead of THIS! |
Samoa
Scoop of chocolate shakeology
8 oz coconut milk
1/4 c. flaked, unsweetened coconut
1/2 tsp caramel extract
ice
Vanilla
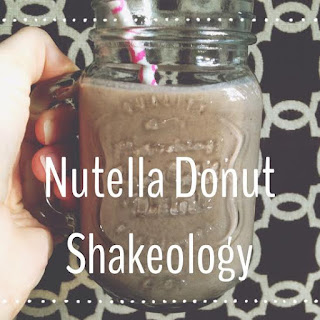
Nutella Donut Shakeology
Scoop of vanilla shakeology1 tsp Drostes Cocoa
1/2 whole wheat graham cracker6 oz. almond milk 6 oz. cold water
1/2 c. hazelnuts
1/2 tsp each cinnamon and vanilla extractIce
The Elvis
Scoop of vanilla shakeology
8 oz. almond milk
1 frozen banana
1 Tbls peanut butter
1/2 tsp. cinnamon
Frappucino
Scoop of vanilla shakeology
1 cup coffee ice cubes
8 oz vanilla almond milk
1/2 tsp. chai spice
Pumpkin Spice
Scoop of vanilla shakeology
1/4 cup pumpkin puree
1 tsp. cinnamon
dash of nutmeg
drizzle of raw honey
8 oz. almond milk
ice
Vanilla Berry
Scoop of vanilla shakeology
1 cup frozen berries and kale (Waldman's makes a great mix!)
8 oz. vanilla almond milk
dash of cinnamon
Strawberry
Vacation Mode
Scoop of strawberry shakeology
8 oz. coconut water (fresh is awesome!)
1/2 frozen banana
1/2 c. pineapple
Citrus Burst
Scoop of strawberry shakeology
1 clementine
1/2 cup pineapple
8 oz. cold water
ice
Strawberry Mojito
Scoop of strawberry shakeology
1/4 cup mint leaves
8 oz water
ice
Strawberry Cheesecake
Scoop of strawberry shakeology
1/2 c. cottage cheese
8 oz. vanilla almond milk
dash of cinnamon
ice
Dark Chocolate Covered Strawberry
Scoop of strawberry shakeology
1 tsp. dark cocoa powder
8 oz. almond milk
1 cup coffee ice cubes